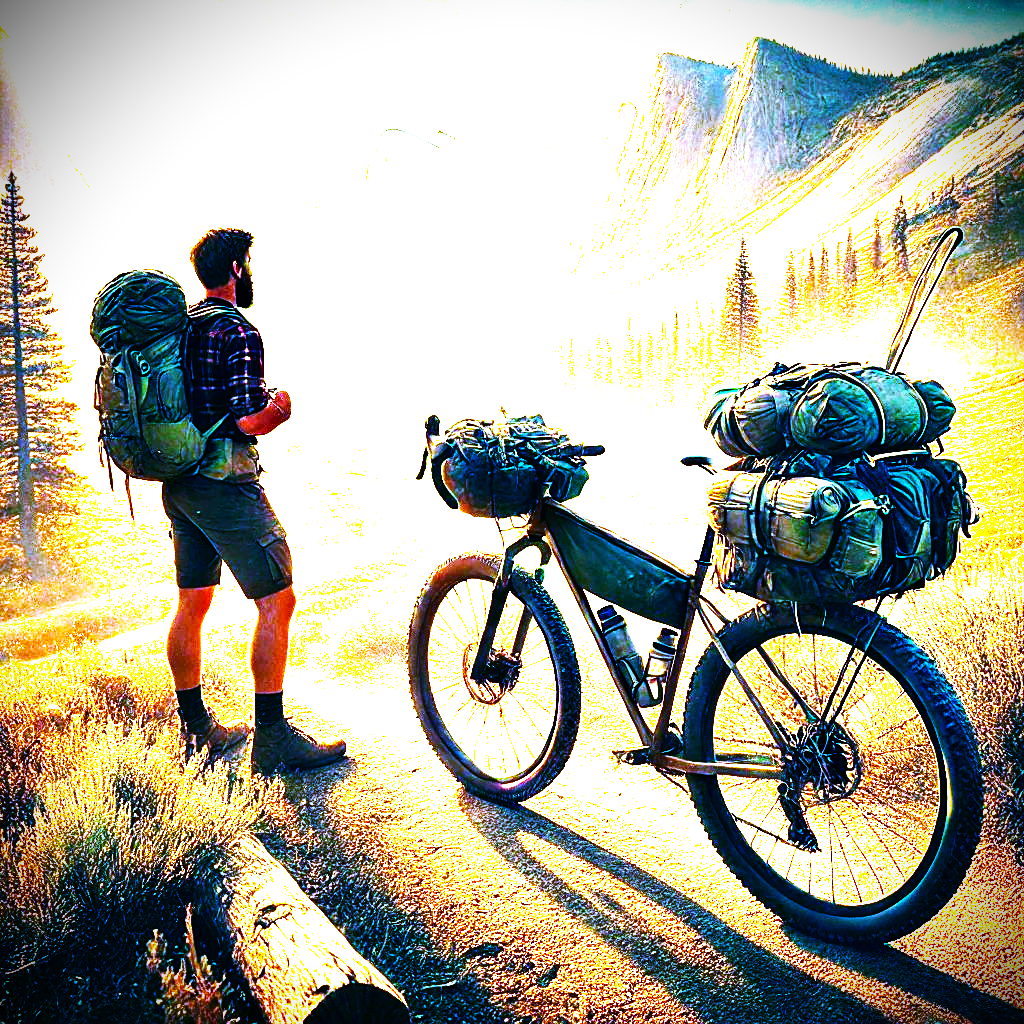
How to Pack a Bikepacking Bag: The Ultimate Guide for 2025
Share
How to Pack a Bikepacking Bag: The Ultimate Guide for 2025
Introduction: Why Packing Right Matters
A great bikepacking trip starts with smart packing. Imagine pedaling through the wilderness, only to realize your essentials are buried under your sleeping bag! Packing efficiently ensures balance, stability, and quick access to important gear.
In this guide, we’ll break down the best way to pack your bikepacking bags, covering weight distribution, essential gear placement, and expert tips. Plus, we’ll include Amazon Affiliate links so you can grab the best gear for your next adventure!
(Affiliate Disclosure: This post contains Amazon affiliate links. If you purchase through these links, we may earn a small commission at no extra cost to you.)
🏕️ Step 1: Understanding Bikepacking Bags & Storage Areas
Before packing, it’s essential to understand where each item should go. Here’s a breakdown of common bikepacking bags:
Common Bikepacking Bags:
| Bag Type | Best For | Example (Affiliate Link) |
|---|---|---|
| Handlebar Bag | Sleeping gear, jackets, lightweight items | Ortlieb Handlebar Pack |
| Frame Bag | Heavy, dense items like food, tools, batteries | Revelate Designs Frame Bag |
| Seat Pack | Clothes, extra layers, first aid kits | RockBros Seat Pack |
| Top Tube Bag | Snacks, phone, small essentials | Top Tube Storage |
🚴♂️ Step 2: How to Distribute Weight Efficiently
A properly packed bike is stable and easy to control. The golden rule of packing:
✅ Heavy items go low & centered (Frame Bag)
✅ Bulky but light gear goes in Handlebar & Seat Packs
✅ Quick-access gear stays in Top Tube Bags
💡 Pro Tip: Packing efficiently will keep your ride smooth & prevent wobbling on technical terrain.
🔥 Step 3: Step-By-Step Packing Guide (With Amazon Affiliate Links!)
Step 1: Start With the Frame Bag (Heaviest Items First)
🔹 Pack food, tools, batteries, and hydration inside your frame bag for a stable center of gravity.
🔹 Keep water bladders upright to prevent spills.
🔹 Affiliate Link: "Best Bikepacking Frame Bags"
Step 2: Load Up the Handlebar Bag (Light & Compressed)
🔹 Store sleeping gear, extra layers, and compressible items here.
🔹 Use compression straps to minimize bulk.
🔹 Affiliate Link: "Top Handlebar Bags for Bikepacking"
Step 3: Pack the Seat Pack (Clothes & First Aid)
🔹 Roll clothes tightly for max space efficiency.
🔹 Store rain jacket & first aid kit at the top for easy access.
🔹 Affiliate Link: "Best Seat Packs for Bikepacking"
Step 4: Fill the Top Tube Bag (Quick-Access Items)
🔹 Keep snacks, phone, sunscreen, and a multi-tool here.
🔹 This bag is perfect for on-the-go access during your ride.
🔹 Affiliate Link: "Best Top Tube Bags for Essentials"
❓ FAQ: Common Packing Questions
❓ How do I pack my bike for a long trip?
👉 Keep heavy gear low & centered; light gear in handlebar & seat packs.
❓ How much weight should I carry when bikepacking?
👉 Aim for 10-15% of your body weight for comfort & efficiency.
❓ What’s the best way to keep gear dry while bikepacking?
👉 Use waterproof bags like the Ortlieb Handlebar Pack and dry bags inside frame bags.
🎯 Final Thoughts & Call-To-Action
🚴 "Packing right can make or break your trip. With the right bags & weight distribution, you’ll ride smoother and enjoy the journey more!"
👉 “Check out our hand-picked selection of the best bikepacking bags for 2025 on Amazon.” (General Affiliate Link: See More Bikepacking Bags)
🔥 Have any bikepacking packing tips? Share in the comments below!